The Curtis 1313 programmer is a powerful tool designed for programming and configuring Curtis motor controllers. Whether you're an electric vehicle enthusiast, a technician, or an OEM manufacturer, understanding how to use the Curtis 1313 programmer is crucial for optimizing performance and functionality. In this comprehensive guide, we will walk you through the step-by-step process of effectively utilizing the Curtis 1313 programmer.
Step 1: Familiarize Yourself with the Curtis 1313 Programmer
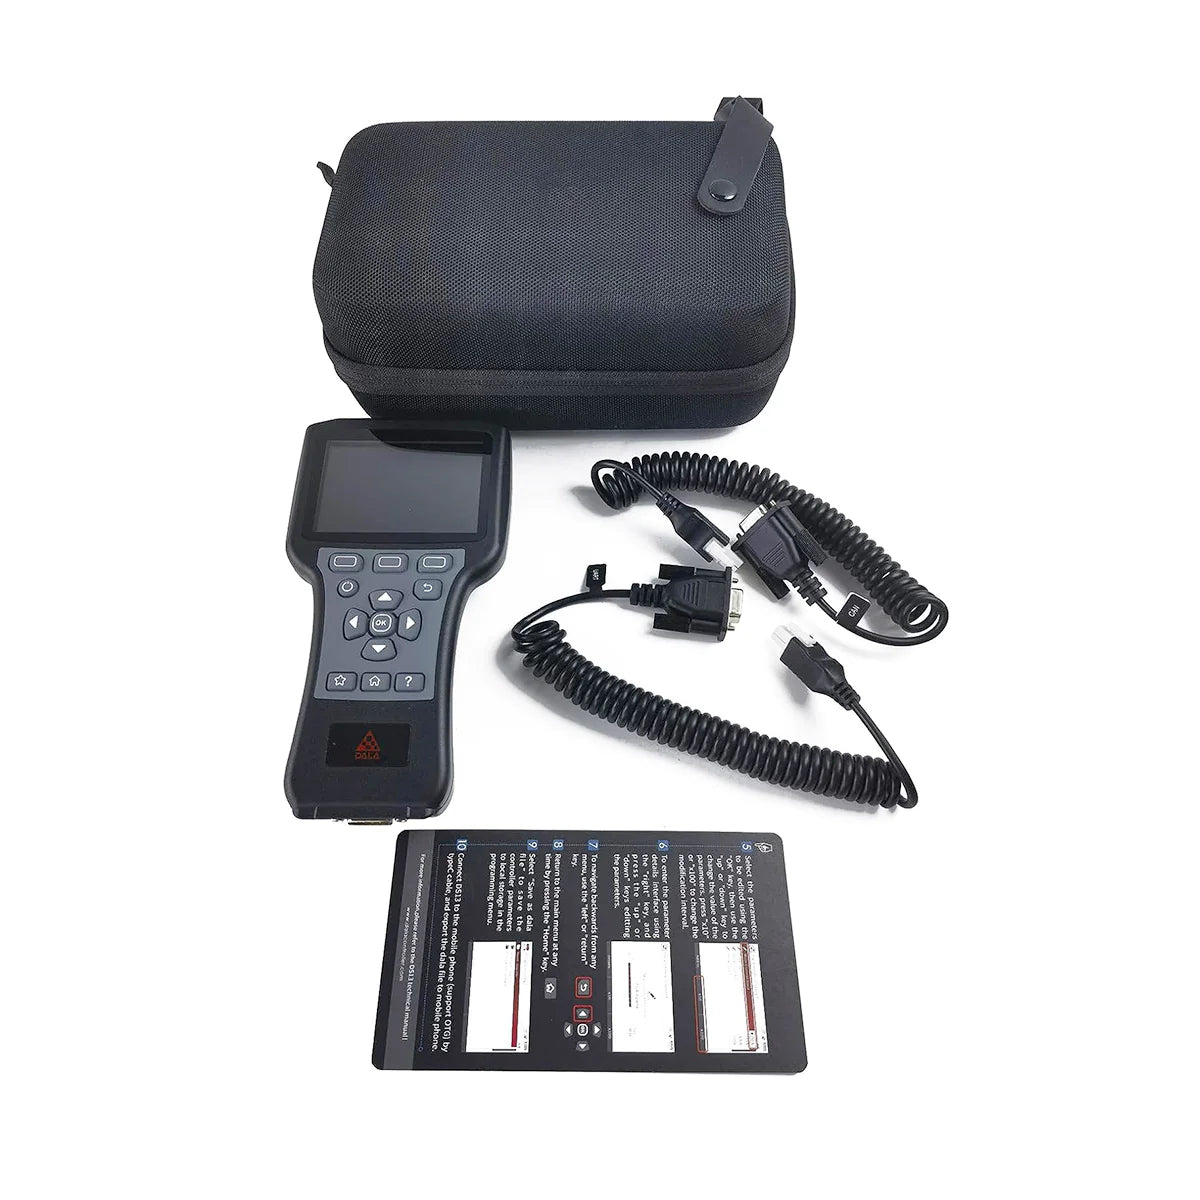
Begin by getting acquainted with the features and functions of the Curtis 1313 programmer. Take time to explore the various buttons, display screen, and menu options available. Refer to the user manual provided by Curtis Instruments for detailed information about the capabilities and functionalities of the programmer.
Step 2: Connect the Curtis 1313 Programmer
Connect the Curtis 1313 programmer to the motor controller using the appropriate cable. Ensure that the power supply is connected and turned on. Follow the correct connection steps and installation instructions to ensure a stable connection and operation.
Step 3: Navigate the Menu System
Once successfully connected, explore the menu system of the Curtis 1313 programmer. Access various menus and options for programming and configuration purposes. These menus include but are not limited to:
- Basic Settings: Customize parameters such as acceleration, deceleration, maximum speed, and more.
- Advanced Features: Configure more advanced settings like feedback control, brake system configurations, etc.
- Fault Diagnosis: Check and log fault codes and events of the motor controller.
These menus and options allow you to make fine adjustments and configurations to the motor controller based on your specific requirements.
Step 4: Program and Configure the Motor Controller
Understand the specific programming requirements of your application and make necessary adjustments using the Curtis 1313 programmer. Set parameters such as acceleration, deceleration, maximum speed limits, feedback control types, among others. Consult the user manual or technical documentation provided by Curtis Instruments for detailed information on each parameter.
Step 5: Save and Test the Configuration
Once you have made the desired programming changes, save the configuration settings on the Curtis 1313 programmer. Disconnect the programmer from the motor controller and conduct a series of tests to ensure that the new configuration works as intended. Monitor the performance of the motor controller under different conditions and make any necessary fine-tuning adjustments if needed.
Conclusion: By becoming proficient in using the Curtis 1313 programmer, you can accurately and efficiently program and configure Curtis motor controllers. By following the steps outlined in this guide, you'll be able to navigate menu systems, adjust parameters, and optimize the performance of your motor controller with confidence. Refer to the user manual, technical documentation, and support resources provided by Curtis Instruments for further assistance. With the Curtis 1313 programmer in hand, you'll unlock the full potential of your Curtis motor controllers.